If you got this far without any errors congrats! First we are going to setup the Layout of the android application in the default activity main. If you don’t have android studio I recommend you get it at
https://developer.android.com/studio/index.html
but I’ll provide the xml code down below. Drag Four buttons into the layout or use the xml code down below. We are going to need to set a onclick id for each one of them. I labeled mine ledOne, ledTwo, and so on and so forth.
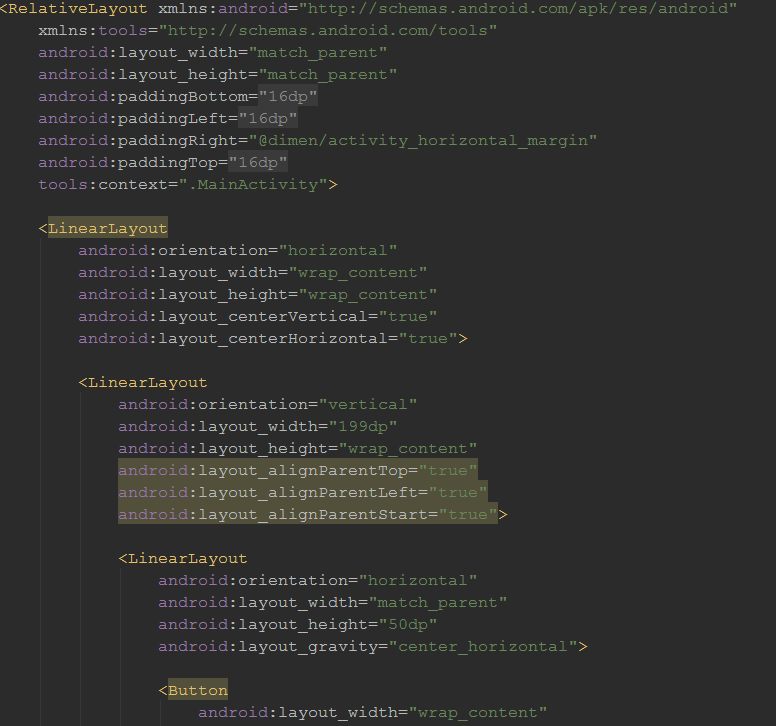
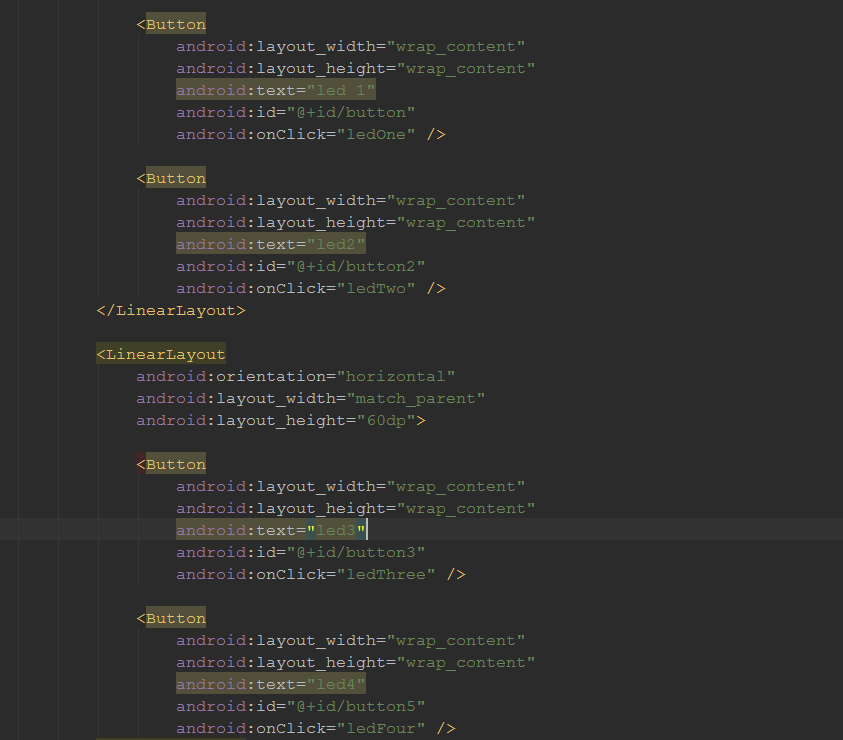
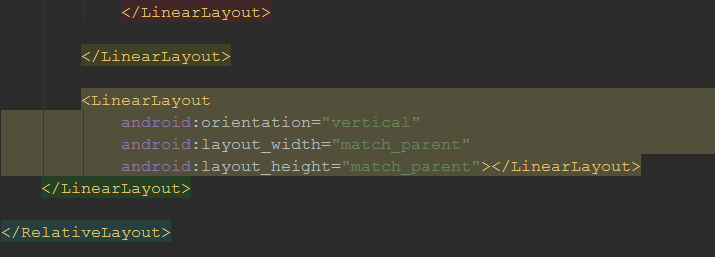
Now go to the MainActivity class where we are going to need to add the method for the onclick response. In this case I added an if statement to change the http request commands. What the method does is post different values to the Arduino Yun through http requests. We need to repeat this for all the number of button we have.
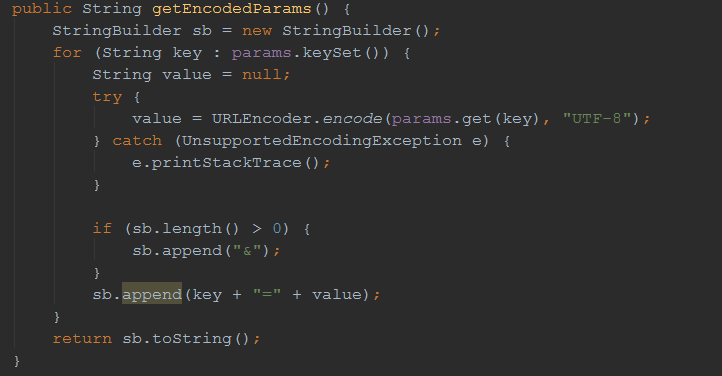
Next we are going to create a class that gets information from the webpage. I won’t go in depth with how I got the information from the webpage using the classes. In order to receive information from a http request you need the Urlencoder class. This is the setup I used down below.
Next we need to create a class that opens the Url connection. Sends the request and receives is it in a string. After that we need to close the Url Connection.
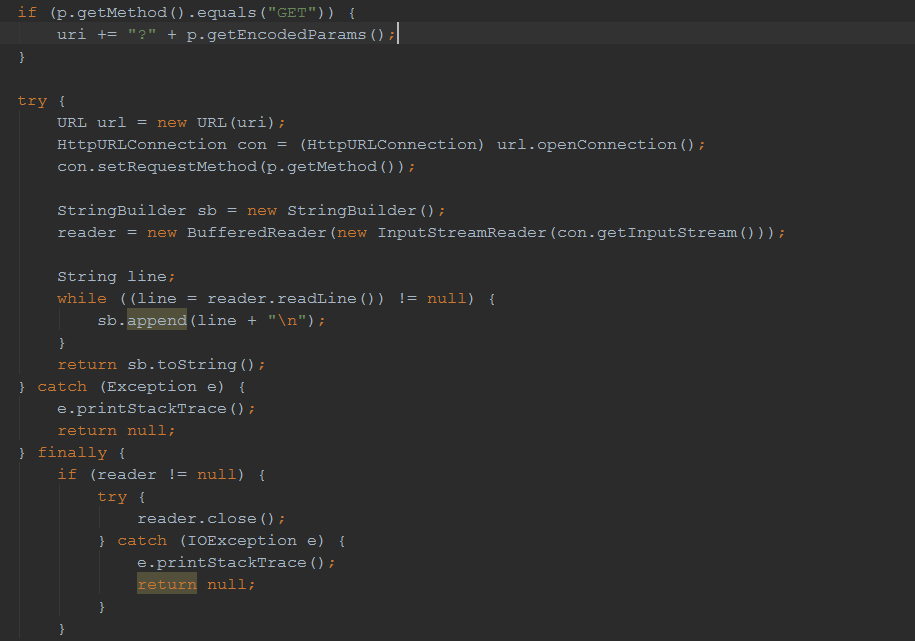
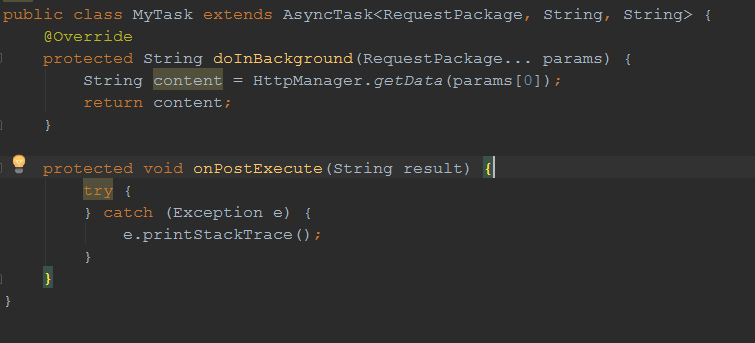
Finally, we will need to create the get method in the MainActivty Class and the AsyncTask Download class to tie everything together. First the AsyncTask
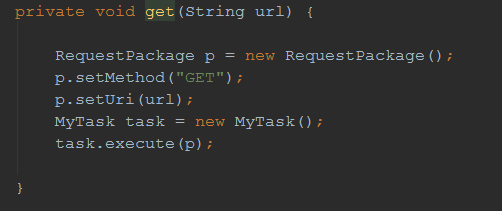
And secondly the get request method.
Summary
Now you should be able to control the Arduino Yun wireless without no issue by pressing one of the buttons on the phone. This tutorial is meant to provide you with some insight on the internet of things and how you could tie in everything together with your phone. I will provide you with a detailed tutorial video and a github code with all the projects included.
https://github.com/JavierMarte/ArduinoAndroidLed2
